 When you click on links to various merchants on this site and make a purchase, this can result in this site earning a commission. Affiliate programs and affiliations include, but are not limited to, the eBay Partner Network. When you click on links to various merchants on this site and make a purchase, this can result in this site earning a commission. Affiliate programs and affiliations include, but are not limited to, the eBay Partner Network.
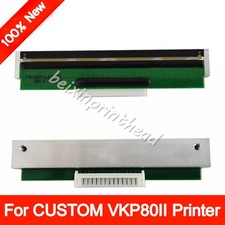
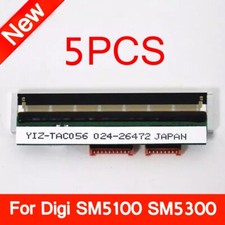
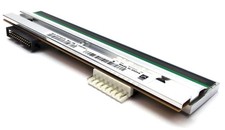
Restore Clean, Crisp Printing to Your POS System Instantly!Is your Epson receipt printer producing faint text, missing dots, or blurry barcodes? This brand-new, premium-grade replacement thermal printhead assembly is engineered to restore factory-level text sharpness and scan accuracy to your daily commercial retail, restaurant, or warehouse point-of-sale terminal.KEY FEATURES & BENEFITS: - 1:1 Perfect OEM Drop-In Compatibility: Engineered as a direct mechanical and electronic replacement for standard Epson TM-T88V receipt printers. No modification required.
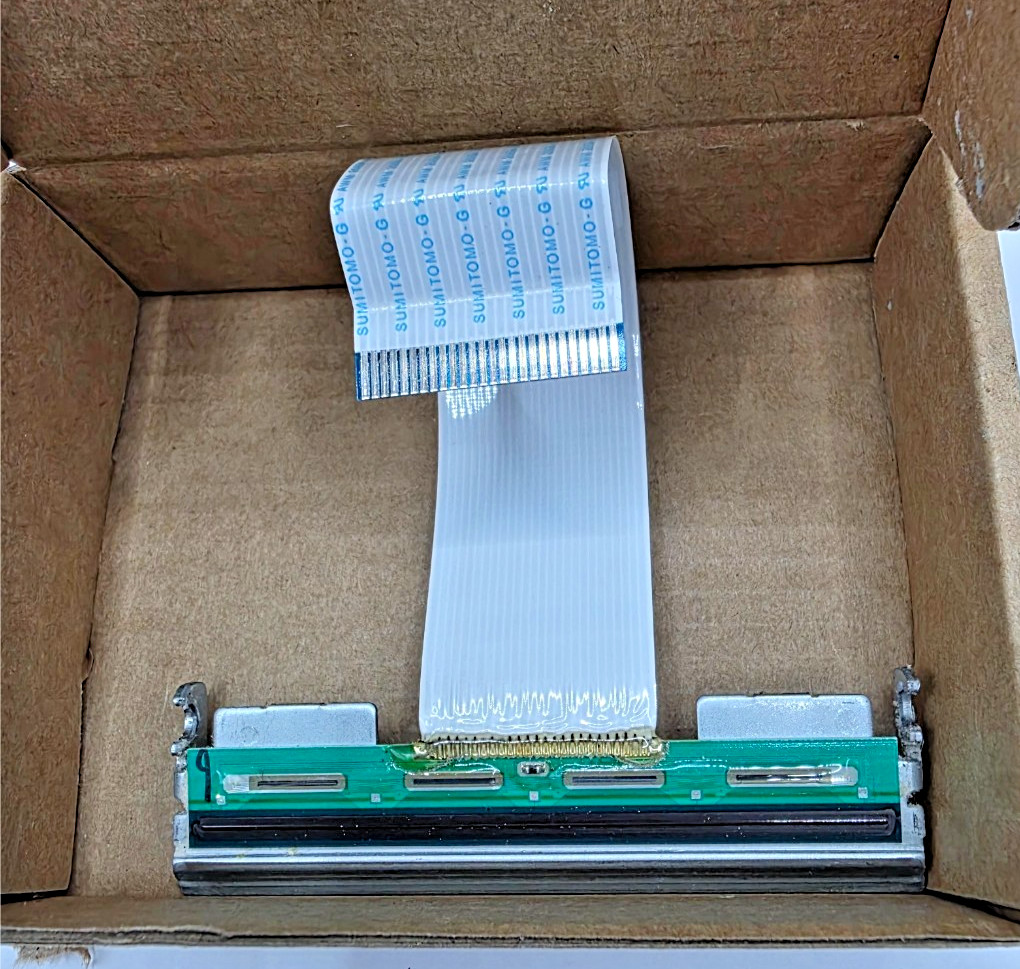
- Pristine High-Grade Ribbon Cable: Features a factory-soldered, flexible data flat ribbon cable with perfect contact pins for an immediate, uninterrupted connection.
- Premium Wear-Resistant Heating Elements: Built to withstand high-volume commercial print environments, minimizing paper jams and eliminating fade streaks.
- Cost-Efficient DIY Maintenance: Save hundreds on third-party technician call-out charges by dropping this user-installable module straight into your printer's chassis clips.
FULL PRINTER COMPATIBILITY LIST: - Epson TM-T88V Series (All interfaces: USB, Ethernet, Serial)
- Epson TM-M244A Model Printers
- Epson TM-T885 Series POS Printers
- Cross-Reference Part Numbers: 2138822, 2141001, 2131885, X0049FR9CP
TECHNICAL SPECIFICATIONS: - Part ID: 2138822 Assembly
- Interface Line: 26-pin flexible interface ribbon data strip
- Print Style: Direct Thermal Printing
STEP-BY-STEP PRO INSTALLATION TIPS: - Safety First: Completely power down your POS terminal machine and unplug the main power brick cord before beginning replacement work.
- Removal: Open the main paper roll lid panel carefully, unscrew or unclip the spent/damaged thermal head core, and gently detach the old ribbon data bridge.
- Handling: Avoid touching the shiny thermal glass line segment of the new printhead directly with your bare fingers to prevent oil transfers; hold the metal housing instead.
- Seating: Plug the crisp data ribbon snugly into the internal logic board, click the assembly back firmly into its factory structural mounting alignment tabs, and run a diagnostic self-test strip!
PACKAGE INCLUDES: - 1 x Brand New Thermal Print Head Assembly with Pre-Attached Data Ribbon Cable
- Original Protective Box
 |
|