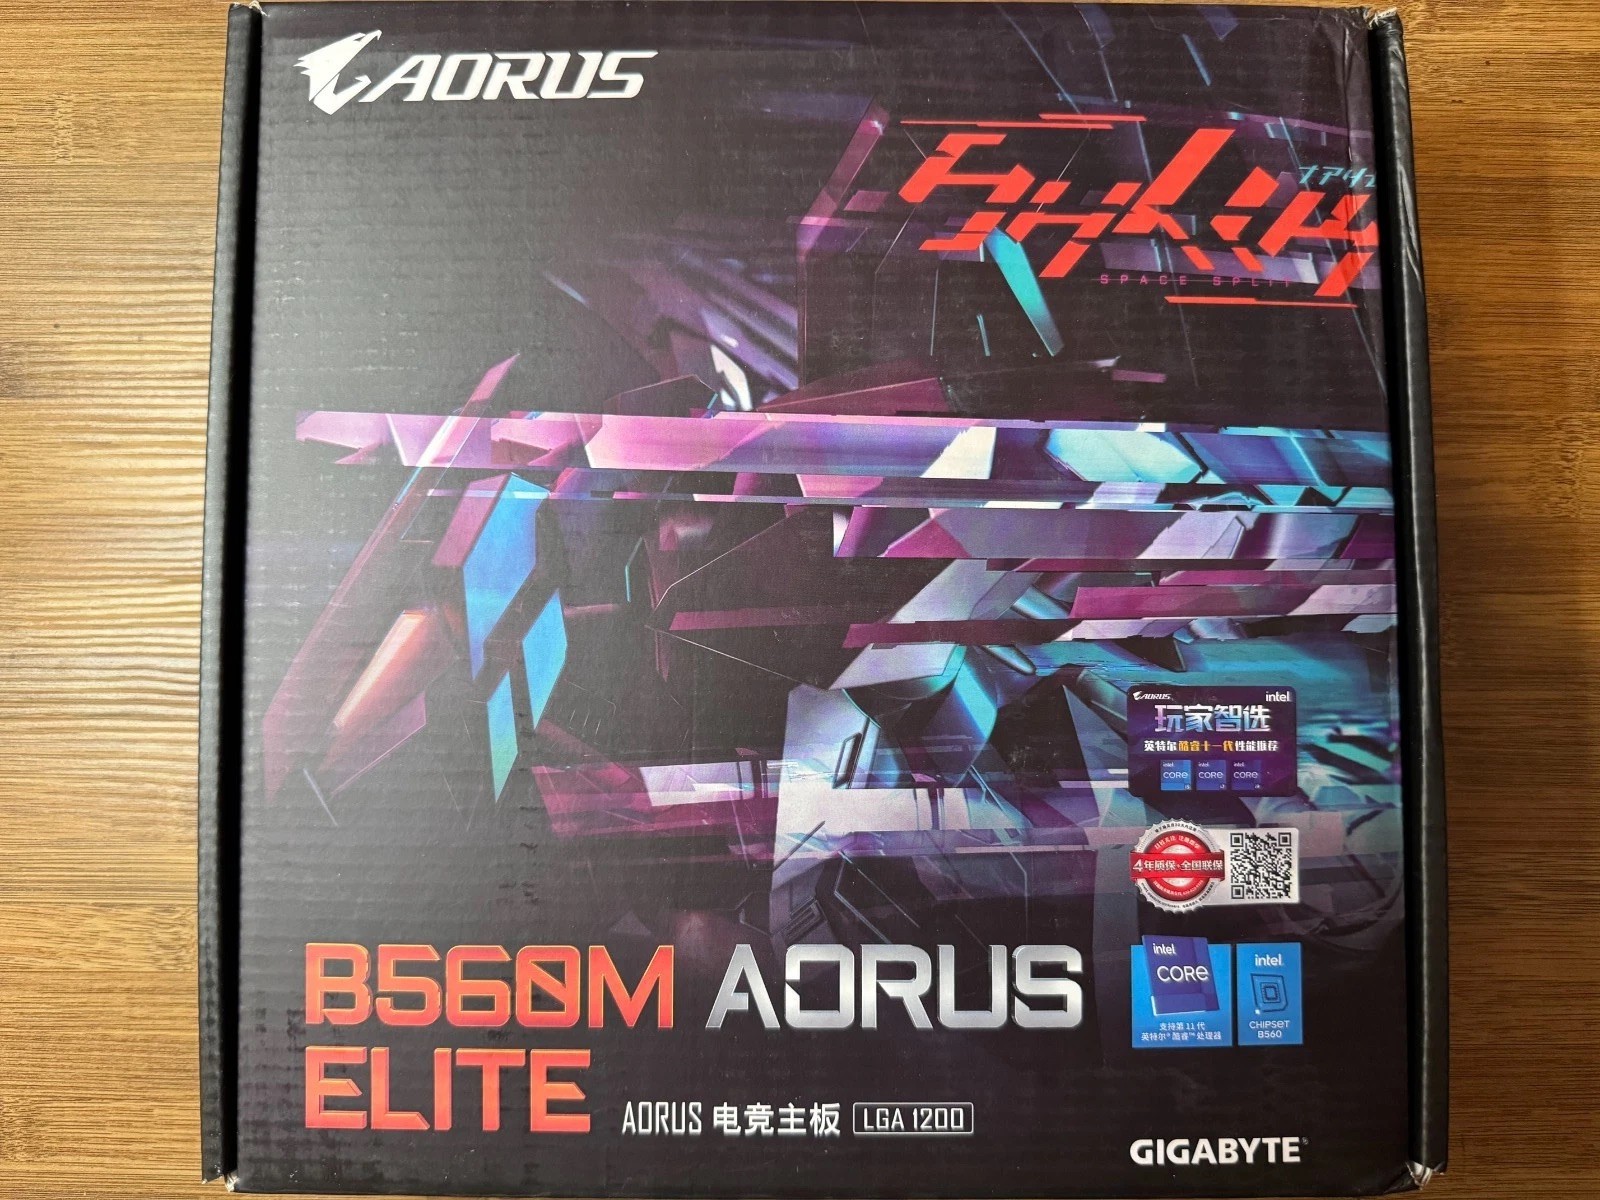
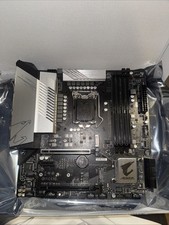
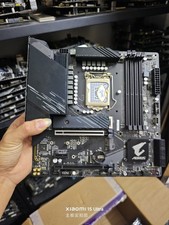
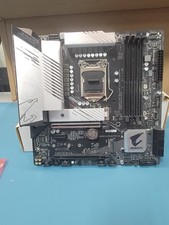
Graphics card (only if your CPU has no integrated the system boots successfully, reconnect devices one at a time to identify the faulty component.3. Check the Memory (RAM)RAM installation issues are one of the most common reasons for boot failure.
- Remove and reinstall the RAM.
- Ensure both retention clips lock completely.
- Test one stick at a time.
- Install it in the motherboard's recommended slot (usually A2/DIMM_A2).
- If one stick works and another does not, the RAM module may be defective or incompatible.
4. Clear CMOS- Turn off the system.
- Disconnect AC power.
- Clear CMOS using the jumper or remove the CMOS battery for approximately 30 seconds.
- Reinstall the battery and power on again.
This restores the BIOS to factory default settings.
5. Verify CPU Installation- Confirm the CPU is seated correctly.
- Make sure the CPU cooler is installed evenly and securely.
- Carefully inspect the socket for bent pins under good lighting.
If you are not comfortable reinstalling the CPU, we recommend seeking assistance from a qualified technician.
6. Check Graphics OutputIf your CPU includes integrated graphics:
- Remove the dedicated graphics card.
- Connect the monitor directly to the motherboard video output.
Also verify:
- Monitor functions properly.
- Video cable is working.
- Correct input source is selected.
7. Check Diagnostic LEDs or Beep CodesMany motherboards include:
- CPU LED
- DRAM LED
- VGA LED
- BOOT LED
- Debug code display
Please note which indicator remains lit.
If available, connect a motherboard speaker to obtain POST beep codes.
This information greatly assists with troubleshooting.
8. Test the Power SupplyIf possible, test the motherboard using a known-good PSU.
A failing power supply may power fans and LEDs while still preventing the system from booting.
9. BIOS CompatibilitySome older motherboard BIOS versions may not support newer processors.
If your CPU requires a newer BIOS version, a BIOS update may be necessary.
Please contact us before attempting a BIOS update if you are unsure.
Need Technical Support?To help us diagnose the issue quickly, please provide:
- Your order number
- Motherboard model
- CPU model
- RAM model
- Photos of:
- Entire motherboard
- CPU socket
- Power connections
- A brief description of the troubleshooting steps you have already completed
Providing this information allows us to assist you much faster.
Return & Warranty InformationPlease do not attempt advanced repairs, such as soldering or modifying the motherboard.
If the motherboard still fails to boot after completing the troubleshooting steps above, please contact us through .
We are committed to resolving the issue quickly and will gladly assist with troubleshooting, replacement, or return if necessary.
Thank you for your purchase! We appreciate your business and are always here to help.